


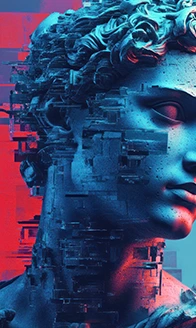
Understanding the major transformations in our societies
Societies are constantly evolving under the influence of multiple factors: technological advancements, demographic shifts, economic developments, and cultural transformations. These transformations influence how we work, communicate, and interact, while also shaping our values and priorities. Understanding these changes allows us to anticipate future challenges, seize new opportunities, and better grasp the social dynamics that are redefining our daily lives. It is an invitation to observe, analyze, and reflect on a world in constant transformation.


Investing wisely for a solid financial future
To secure your financial future, it’s essential to combine strategy and long-term thinking. Investing wisely involves analyzing risks, planning your projects, and staying informed about economic developments. It also includes building up a safety net, managing debt, and gradually diversifying your portfolio according to your goals and personal time horizon.


Financial investments
Buying stocks, bonds, or funds allows you to grow your capital through the financial markets and dividends.

Real estate investments
Real estate offers a regular income and long-term asset appreciation through rental or resale.

Alternative investments
Cryptocurrencies, art, or commodities diversify your portfolio and can generate significant but risky gains.


Building a healthy routine for better daily life
To improve your daily life, it’s important to structure your days with positive rituals that promote energy and concentration. This can include dedicated time for reading, personal reflection, or creative hobbies that stimulate the mind. Organizing tasks, planning meals, and incorporating regular breaks also helps reduce fatigue and increase productivity.
The new frontiers of art in the digital age
The digital age is profoundly transforming how art is conceived, shared, and experienced. Artists are now exploring interactive, generative, and immersive forms, blending virtual reality, artificial intelligence, and digital installations.


Evolution of artistic media
Art in the digital age
Modern technologies and digital media are opening up new possibilities for artistic creation and dissemination, transforming how the public discovers artworks.

Engaged art and the media
Art in service of the message
Artworks can amplify social or political causes, and traditional and digital media play a key role in their dissemination and impact.
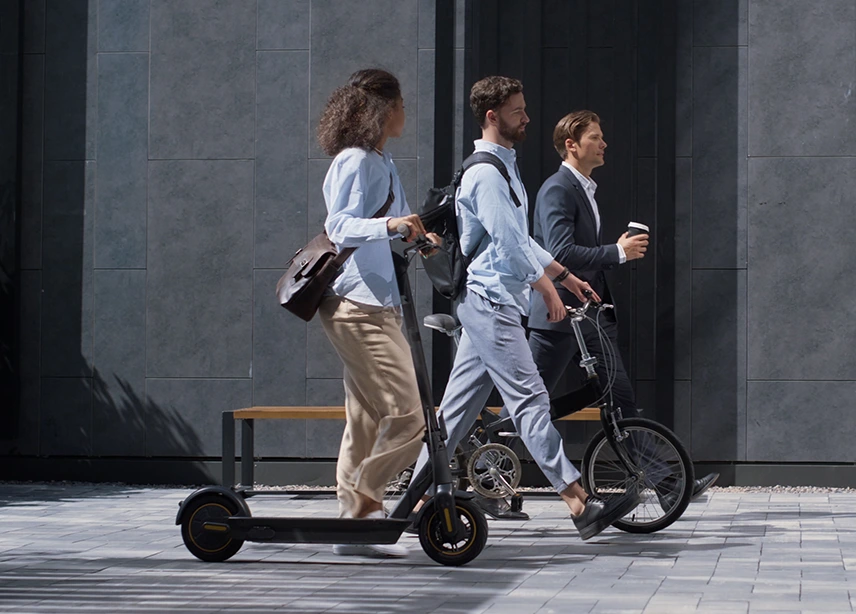

Urban mobility
Fluidity and innovation at the heart of urban transport
Urban mobility is central to contemporary challenges, as it directly influences the quality of life, productivity, and environmental impact of cities. To make travel smoother, numerous innovations and strategies are being implemented, ranging from optimizing public transport through real-time data and smart applications to promoting active transportation modes such as cycling and walking. Shared vehicle systems and multimodal solutions also help reduce dependence on private cars while facilitating daily commutes.
At the same time, urban planning plays a key role: safe cycle paths, pedestrian zones, transport hubs, and connected infrastructure help to reduce traffic congestion and improve traffic flow. Finally, the integration of artificial intelligence and sensors into traffic management makes it possible to anticipate congestion and adapt traffic flow dynamically. Together, these initiatives show that urban mobility can become more efficient, sustainable and enjoyable for all citizens, while addressing the environmental and social challenges of modern cities.
Discover diverse and inspiring places around the world
Travel offers much more than just getting from one place to another: it allows you to reconnect with yourself, encounter new cultures, and enjoy enriching experiences. Each destination brings its own set of unexpected discoveries, whether through the people, the landscapes, local traditions, or unique flavors. Planning a trip also involves immersing yourself in your chosen environment, observing, participating, and adapting to its pace.
Cultural and historical destinations
Explore places steeped in history and tradition to better understand the local heritage.
Beach and seaside destinations
Enjoy the sun, sand, and crystal-clear waters to relax and recharge.
Nature and adventure destinations
Discover spectacular landscapes and enjoy unforgettable outdoor experiences.
Nurturing Curiosity for a perpetually awake mind
Developing curiosity enriches one’s worldview and keeps one open to new ideas. Exploring diverse subjects, asking questions, trying new experiences, and exchanging ideas with people from different perspectives stimulates the mind and fosters creativity. This continuous quest for knowledge also strengthens analytical skills and the ability to adapt to change. By cultivating a curious mindset, each day becomes an opportunity for learning and discovery, transforming the everyday into a playground for intellectual and personal exploration.
Creating elegant and functional living spaces
Thoughtful layout of living spaces allows you to combine aesthetics and practicality in everyday life. This involves choosing modular furniture, optimizing storage, and facilitating movement in each room. The integration of subtle decorative elements, harmonious colors, and suitable materials helps create a welcoming and cohesive atmosphere.

Interior design: creating a space that reflects you
Furnishing the interior of a home is not just about arranging furniture: it’s about creating an atmosphere that reflects your personality and needs. The choice of colors, materials, lighting, and accessories helps establish a balance between comfort and aesthetics.
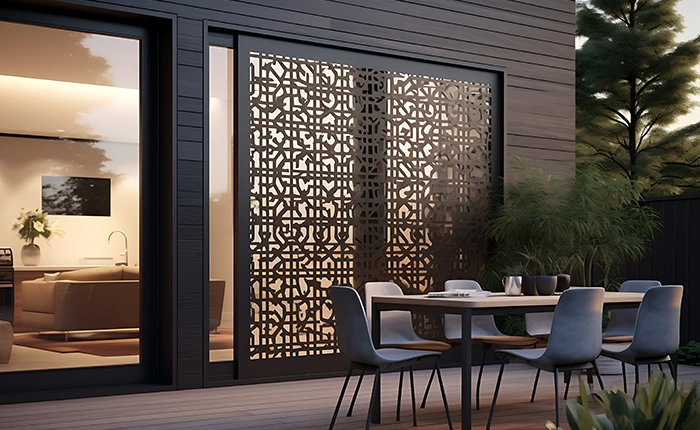
Outdoor design: transforming gardens and terraces into havens of relaxation
Outdoor spaces, whether a garden, terrace, or balcony, offer numerous possibilities for creating a place to relax and socialize. The organization of rest areas, the installation of suitable furniture and the integration of natural elements such as plants or fountains make it possible to create a pleasant and functional environment.
Tips and inspiration to enhance your style
Expressing your personality through your style requires a combination of creativity and thoughtful choices. It’s important to select clothing and accessories that suit your body type, lifestyle, and the occasion, while also daring to experiment with colors, textures, and patterns. Skincare and beauty details complete the look, enhancing its overall impact and the harmony of your appearance. By drawing inspiration from trends but adapting each idea to your own taste, you can create a unique, elegant, and confident style that truly reflects your identity.